Fleets may make some common mistakes during work truck design that can cost money and affect equipment performance and technician efficiency.
Following some best practices during layout and installation can pay off in the long run—optimizing equipment performance, reducing costs, and enhancing efficiency. Consider these six tips when upfitting a work truck with an all-in-one compressor and welder system.
Tip 1: MOUNT THE UNIT ON A STAND
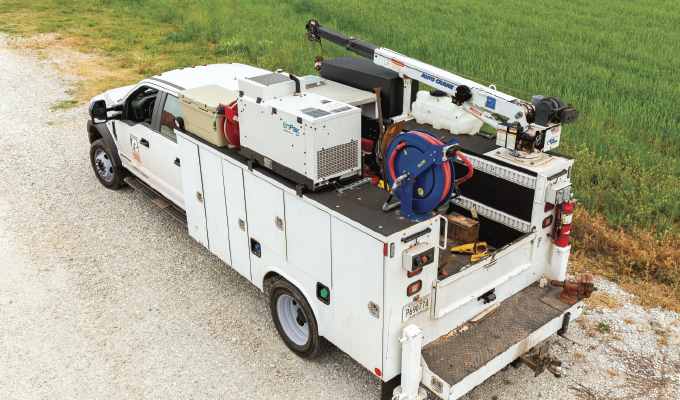
When an all-in-one is mounted directly to the floor, it’s harder to perform routine service like oil changes. Mount the unit on a stand when possible for easier service and maintenance, such as draining engine oil from the machine. Also, be sure there’s room to get into the top and side of the unit to access service points. If an all-in-one is mounted under a deck, for example, it can impede the ability to open the top cover, so it needs to be mounted on a slide-out to provide access. Service points inside a unit may differ from model to model, so be sure to check the owner’s manual before installation to know the service points on your specific unit. Removing potential challenges and making it easier to perform service will help ensure the work is done when it’s needed.
TIP 2: ENSURE PROPER AIRFLOW AROUND THE UNIT
An all-in-one unit that’s packed into a tight space on a work truck—such as when it’s under a deck or surrounded by other equipment—limits the space for necessary airflow to the unit. This can cause the machine to overheat. Check the owner’s manual for clearance requirements that will help optimize performance for your unit. Also, be aware that space requirements can differ for each side of the unit. Some sides may require an inch or less of clearance, while other sides may need more space depending on the design and where airflow is pulled through the unit.
TIP 3: FOLLOW PROPER INSTALLATION FOR ENCLOSED UNITS
If you will install your all-in-one in an enclosed truck or inside a cabinet on a work truck, take care to follow proper installation methods for enclosed units. For example, in an enclosed space, there must be proper exhaust routing and ventilation for the unit to operate safely and efficiently. Don’t bury the unit with other equipment, consider ducting the hot air directly to the outside, and choose a machine with lower noise levels for a better work environment in an enclosed space.
TIP 4: OPTIMIZE FUEL LINE ROUTING
Use at least the minimum recommended hose diameter when routing the fuel lines to connect the all-in-one unit to the chassis fuel supply. The unit owner’s manual will provide the recommended fuel hose diameter for your specific machine. It’s also a good idea to increase the hose diameter as hose length increases. In addition, keep the fuel line routing straight with as few fittings as possible. If the hose is snaked through cabinets or you use numerous elbow fittings this adds restrictions to the fuel line, reducing the amount of fuel that gets to the unit. This can result in low power and affect performance.
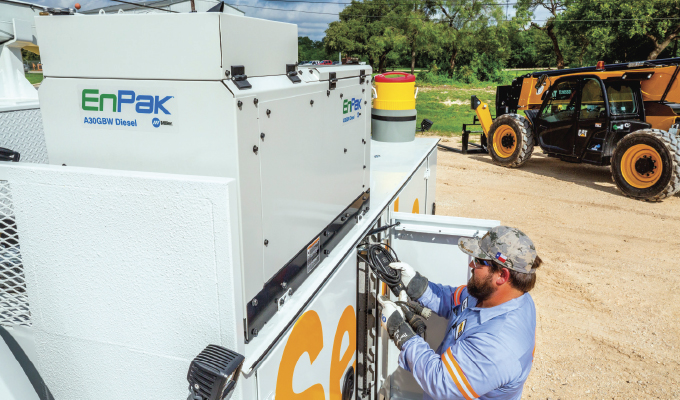
TIP 5: INSTALL AN INVERTER TO OPTIMIZE TECHNOLOGY
When the all-in-one unit you’re installing is an EnPak® A30 or EnPak A60 from Miller, it’s beneficial to also install an inverter that runs off the 12-volt battery system. Using an inverter ensures that you get the full benefits of the Chassis Power feature on EnPak units. This technology monitors the truck battery voltage and automatically charges the battery as needed. This allows service technicians to turn off their trucks and not worry about jobsite tools draining the truck battery while they work. The inverter provides 120-volt power for things like battery chargers and tools, while the EnPak monitors the chassis battery to keep it fully charged.
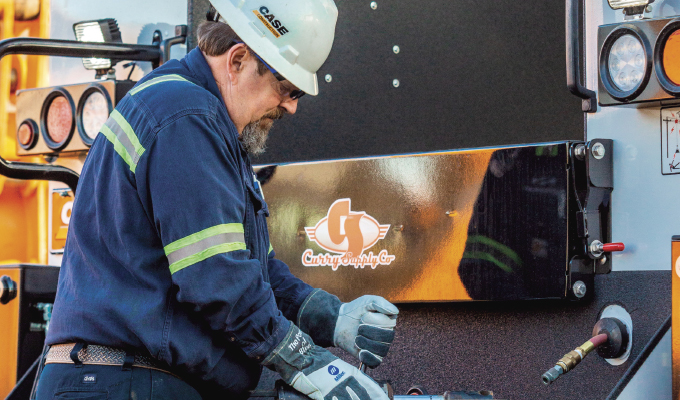
TIP 6: INSTALL REMOTE PANELS IN A CONVENIENT LOCATION
Remote panels provide techs with access to the all-in-one unit’s controls from outside the truck bed, improving efficiency, convenience, and safety since they don’t have to climb in and out of the truck to access controls or make changes. Install remote panels in the most convenient, usable location for the tech to optimize versatility and convenience. Make sure the panel is close to the main work area. It can also be helpful to install the panels inside a cabinet.
SAVE TIME, ENHANCE OUTPUT
Considering some best practices during truck upfitting and all-in-one installation will help ensure the most convenient, flexible layout for the tech—delivering cost and time savings along with optimized performance and output. Keeping these tips in mind can also help make a technician’s job easier, resulting in more satisfied and productive techs for your fleet.
ABOUT THE AUTHOR
Joe Gitter is a technical applications specialist with Miller Electric Mfg. LLC. Find out more, visit www.millerwelds.com.