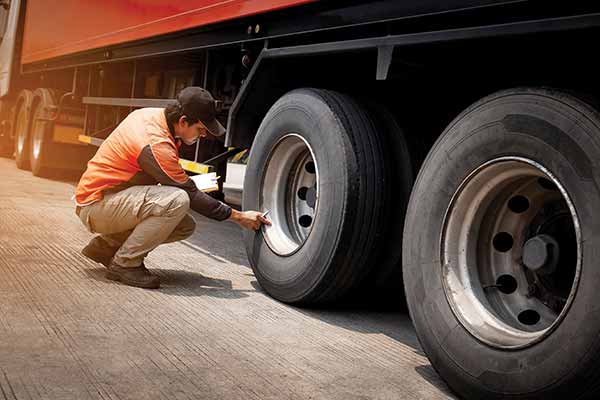
Wheel seals for commercial trucks can be two-piece or single-piece and are important for keeping wheel bearings well lubricated and free of corrosion and also for preventing damage to axle spindles. Proper wheel seal maintenance helps your fleet stay on the highway and out of the service bay.
TWO SEAL TYPES
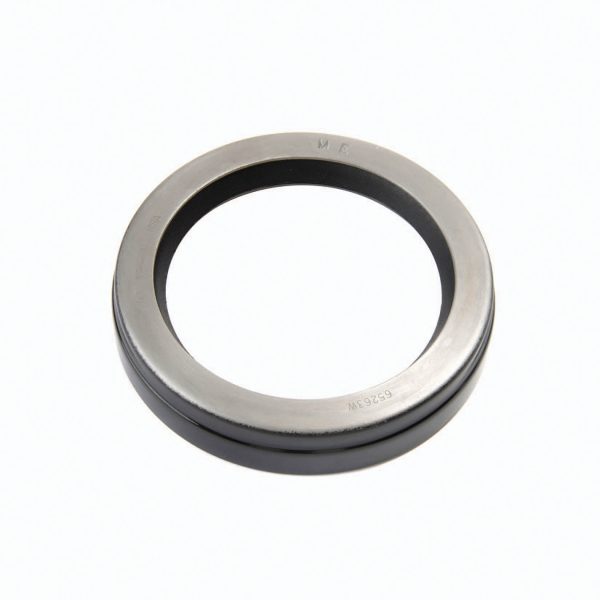
The first consideration is which seal type works best for your fleet. For instance, a two-piece design is often used to achieve a tight sealing lip where axle spindles are worn. Leather-lipped, two-piece seals are preferred for cold temperature environments or on off-roading trucks for their ability to resist contamination and meet a wide range of service needs.
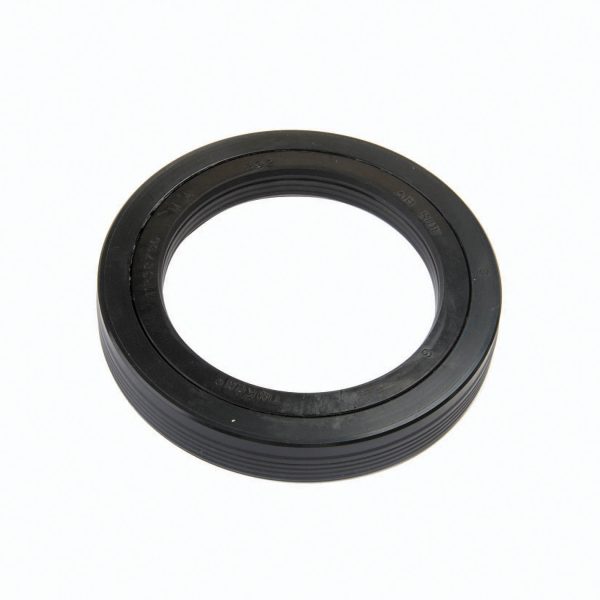
One-piece seals are sometimes called cartridge seals due to their unitized design. These tend to use advanced material compositions (e.g., nitrile rubbers) on all sealing lip and outer diameter surfaces to promote longer seal life across a broad temperature range including hot starts and braking.
Wheel seals are usually installed using special tools (e.g., seal driver/installer tools and kits) that are specific to the manufacturer. Most manufacturers do not recommend use of competitors’ installation tools as this practice can invite seal damage. Notable is that some one-piece seal designs do not require special tooling and can be installed using only a hammer and flat ring to tap the seal in place.
When correctly installed, either type of wheel seal can offer dependable performance, making selection a matter of the fleet operator’s preference and what works best for the service team. Regardless of choice, routine wheel seal maintenance is critical to keeping trucks in good working order, and there are two important considerations that must not be overlooked.
First, carefully removing and replacing the wear ring (or wear sleeve) of a two-piece seal from an axle shoulder is important to protect the spindle and other wheel-end components from scratching and scoring. Second, ensuring that a cartridge seal will seat properly takes attention to detail at each step of the installation process.
The following recommendations for these critical maintenance functions can help keep your fleet rolling along with fewer costly repairs and untimely interruptions to your customers.
REMOVING & INSTALLING
The first maintenance procedure involves the wear ring of a two-piece wheel seal. In order to properly replace a damaged or worn wear ring, you will need to first take a small ball-peen hammer and tap the outer diameter of the ring with the rounded end of the hammer. This stretches the metal to expand the ring, making it much easier to remove from the spindle. Note that once the wear ring has been peened, it cannot be used again, so make sure to recycle the ring after removal.
With the old wear ring removed, inspect the entire spindle and axle shoulder for possible issues. If scale or corrosion is apparent, remove it with an emery cloth. Additionally, if raised metal or burrs are present, file these down using the appropriate file. But be careful: Removing any of the contact surface of the spindle may cause the new wear ring to fit improperly.
Now to install the new wear ring. When installing a ring on a two-piece seal, the technician should apply a thin film of nonhardening sealant on the axle shoulder outer diameter, being careful not to apply any sealant to the wear ring itself.
Now place the wear ring squarely on the shoulder, and position the properly sized sleeve-drive tool squarely on the sleeve. Next use a hammer to drive the ring completely on the shoulder. After the wear ring is properly seated it’s time to wipe away any excess sealant from the sides of the bearing.
The reason that proper installation is so important is because wear rings protect spindles from scratches and scoring, which can ultimately extend the life of your spindles and other wheel-end components.
CARTRIDGE INSTALLATION
The second maintenance consideration applies where a one-piece seal is used. When installing a cartridge seal there are certain steps that must be taken to ensure it will function properly and protect the bearings.
In all cases, the seal must be replaced every time it is removed from the hub, and you must use the proper tool—as designated by the manufacturer—to install the new seal. Using the wrong tool can distort or damage the seal, allowing water and contaminants to enter and degrade the wheel bearings. Also, as previously noted, some one-piece seal designs permit the use of a hammer and flat plate (that covers the seal from edge to edge) to tap the seal into place. Always check that you are using the appropriate installation method and tools for the job.
Before installing a cartridge seal, it is critical to clean the axle shoulder to remove rust, scale, or old sealant. The surface must be clean or the new seal will not seat correctly. Keep in mind that certain seals might be as much as 20 to 30% wider than the seal being replaced, so it is important to ensure that you are cleaning a sufficiently large area to accommodate the new seal.
Next lubricate the inner wheel bearing with the same lubricant that will be used on the wheel end, and place the inner bearing into the hub. Then lubricate the hub bore and the outer edge of the seal using this same lubricant. Do not apply grease to a bearing that is oil lubricated.
Now place the seal squarely into the hub bore and use the manufacturer’s installation tool (or hammer/flat plate as required) to tap the seal into place. Make sure the seal is aligned and fully seated in the hub where the seal is bottomed out and has not become cocked during installation. Also ensure there is no contact between the inner bearing cone and the seal sleeve as it is critical that the bearing can rotate freely. Furthermore, visually inspect the seal for damage that could have occurred during installation, typically indicated by uneven press-fit markings on the seal surfaces. If you suspect damage, always replace the seal as a precaution.
Next lightly lubricate both the spindle and the inner surface of the seal (using the same lubricant used to lubricate the bearings) before reinstalling the wheel assembly on the spindle. Finally follow the manufacturer’s stated adjustment procedures for the appropriate style of wheel bearing (either preset or manual).
WHERE TO TURN
Minding these steps when installing wheel seals can help your fleet be more productive and is important to enhancing the safety and reliability of all commercial vehicles. In all cases, do not hesitate to contact your local bearing expert with questions or concerns. Often a brief conversation can reveal areas for improvement or address common issues many operators experience. Or when servicing trucks, invite your expert over for an up-close look at any problems you are having to help ensure that bearings will offer reliable performance and last the full replacement cycle.
ABOUT THE AUTHOR
Rick Formisani is a national fleet sales manager for heavy duty commercial vehicles at The Timken Company. In his 30 years with Timken, Rick has held various customer facing roles in industries like food and beverage, automotive, and now heavy truck. Today, Rick is responsible for helping fleets improve wheel end performance with bearings and related products.