For proper truck maintenance, there is a checklist of equipment-maintenance items to review before hitting the road. In most cases, the standard list includes oil levels and tire pressure, while trailer wheel maintenance is often forgotten. Checking the bearings inside the wheel mount to see if they need replacement or service is critically important to safe trailer operation.
Here’s a step-by-step guide to maintaining these important pieces of trailer equipment during your annual maintenance checks.
(DIS)ASSEMBLY REQUIRED
When disassembling a tire from a trailer, it’s important to be particularly careful: Damaging the hub or spindle when you’re removing components can turn a simple maintenance job into an expensive, full-assembly repair.
Remove the tire and wheel assembly, hubcap, cotter pin, adjusting nut, and washer. Then, gently pull the hub assembly toward you, which will loosen the outer bearing cone assembly. Once it’s loosened, remove it and pull the hub assembly off the spindle. This should include the inner bearing cone assembly, inner cup, outer cup, and seal. Using a seal puller, remove the seal, exposing the inner bearing cone assembly. Discard the seal and take the inner bearing cone assembly off the hub.
Assess the bearing assemblies. If they are damaged or corroded, it’s time to replace them using a cup driver or mild steel bar to remove the inner and outer cups from the hub assembly. If they are not damaged and you are just cleaning the assemblies, you can skip this step.
Once the assembly is apart, assess the bearing’s condition.
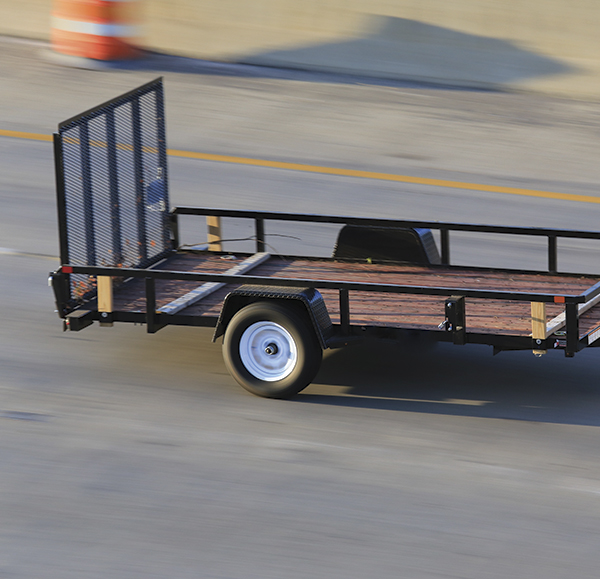
Correct trailer wheel bearing maintenance can be the difference between thousands of trouble-free miles and being stranded on the side of the road.
ASSESS THE BEARING
Using kerosene or mineral spirits, remove all the old lubricant from the hubcap, hub assembly, spindle, bearings, and cups as well as other components. Once the surface is clean, you’ll be able to assess whether there is any significant damage to the hub and spindle.
If the damage is minor—debris, nicks, or burrs—remove it with a fine file, wire brush, emery cloth, or honing stone. If the damage is not repairable, it’s time to replace the hub and spindle.
Next examine the bearings and cups for wear, discoloration, pitting, corrosion, or other types of damage. If necessary, replace the bearings and cups.
PROPER LUBRICATION
Apply a thin film of grease on the spindle, races, seal, and inside the hub and hubcap. The grease will prevent dry startups and protect metal components from corrosion and premature bearing damage.
Next pack the tapered roller bearings with an approved grease. When using traditional greases (NLGI No. 1 and 2), you should force a ring of grease into the entire circumference of the wheel hub until it is halfway full. If the hub is packed more than halfway full, it might cause churning and higher temperatures, which can damage the bearings. Then, coat the hubcap inner wall.
REASSEMBLE THE HUB
Use a cup driver or mild steel bar to drive the inner cup and outer cup into the hub assembly until seated solidly against the hub shoulders. Be cautious not to damage the cup surfaces—and never use a bearing cone assembly to drive the cup.
At this point of the reassembly, you should install the inner bearing cone assembly and replace the grease seal. Follow the manufacturer’s specifications for seal-lip direction. Use the proper installation tool to avoid damaging the seal. Next slide the hub assembly back over the spindle, taking care not to damage the seal against the spindle. Finally install the outer bearing cone assembly, washer, and adjusting nut on the spindle.
BEARING ADJUSTMENT
After the hub assembly is reassembled, it’s important to ensure the proper bearing adjustment. If the adjustment is incorrect, it will shorten performance life in bearings, seals, and other related wheel-end components.
First tighten the adjusting nut to 25 ft-lbs while turning the hub. This should create a slight bind on the bearing indicating the parts are seated correctly. Back the adjusting nut off one-sixth to one-quarter of a turn to allow 0.001-inch to 0.005-inch end play. Place the locking clip over the adjusting nut and insert the cotter pin to prevent the adjusting nut from backing off.
Using a dial indicator, mount the base as close to the center of the hub as possible. Once it’s near the center of the spindle, set the indicator to zero. Hold the rotor at 3 o’clock and 9 o’clock and push it axially while oscillating the wheel back and forth. Stop and read the indicator. Then do the same while pulling the rotor toward you.
Bearing endplay is equal to the total indicator movement, which should be 0.001-0.005 inches. If not, rotate the axle nut in the appropriate direction and recheck bearing clearance.
Once you’ve completed all your checks, reinstall the hubcap and tire and wheel assembly remembering to torque lug nuts according to the manufacturer’s recommendations.
ABOUT THE AUTHOR
Rick Domin is a lead technical trainer with over 30 years of experience at the Timken Company having served in manufacturing, engineering, product management, and training. In addition, Rick is an ASE-certified mechanic who conducts light vehicle and heavy truck training around the US with a focus on proper wheel bearing inspection, installation, and maintenance. Find out more about proper trailer wheel bearing maintenance, training resources, and to watch videos with step-by-step instruction for servicing light-, medium-duty, and commercial trucks, visit www.timken.com/techtips.